
Whether you’re staring at bare dirt after new construction or trying to prevent stubborn weeds from choking your grass, creating a brand-new lawn from scratch or giving your tired, patchy yard a complete makeover is a rewarding home improvement project.
Professional results are within your reach, and you don’t need to buy expensive equipment to accomplish your goals. Renting specialized tools for a one-time project saves you thousands of dollars up front and eliminates the hassle of long-term maintenance and storage.
This guide provides a step-by-step plan and a complete checklist of the rental equipment you need to create a professional-quality lawn yourself. From soil prep to seeding to watering, you’ll know which machines to rent, when to use them and how to execute each phase of your project.
Jump to Section:
- What Landscaping Equipment Do You Need?
- A Step-by-Step Guide to Creating a New Lawn
- How to Renovate an Existing Lawn
- Why Renting Equipment Is the Smart Choice
- Find Your Lawn Equipment At MacAllister Rentals
What Landscaping Equipment Do You Need?
Before diving into the detailed process, here’s a quick overview of the yard care equipment you might need to rent.
- Soil preparation phase: You’ll need a tiller to break up compacted dirt and evenly blend organic and inorganic materials into the soil. For grading and leveling, skid steers with box blade or landscape rake attachments move soil from high spots to low spots and create proper drainage slopes. A lawn roller rental settles the soil after grading, revealing remaining dips or uneven areas that need attention.
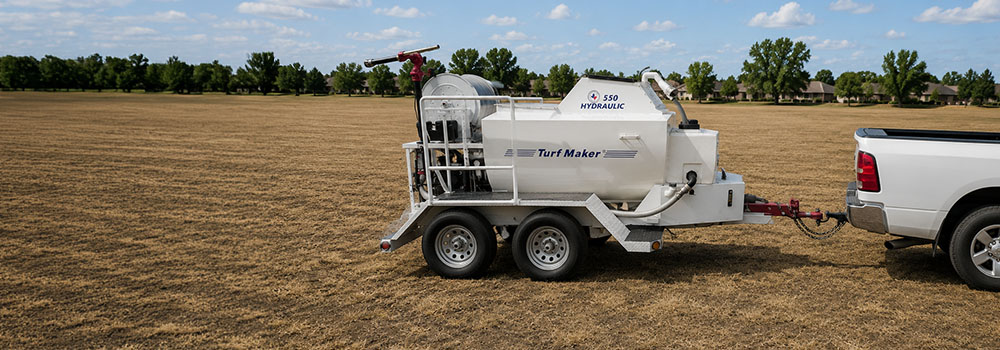
- Seeding phase: Proper seeding is the difference between a thick, even lawn and a patchy mess. Drop spreaders handle broadcast seeding for large areas. Slit seeders cut grooves into the soil and drop seeds directly into them for superior germination. Hydroseeder rentals are ideal for covering steep slopes or expansive properties with a liquid slurry application.
- Finishing and maintenance phase: Once the seed is down, consistent watering is critical. Basic lawn sprinklers or soaker hoses keep the top inch of soil moist during germination. Use a leaf rake to lightly cover the seeds and smooth the surface without disturbing the seedbed.
Removing an Existing Lawn
If renovation is the goal, you’ll first need to strip away the old, failing turf. Trying to seed over heavily compacted, weed-infested grass rarely produces optimal results. A clean slate gives new seeds the best chance to thrive.
Sod cutters are the most efficient tool for this job. These machines use a sharp, horizontal blade to slice under the grass roots, separating the turf into sections that roll up easily for removal.
You can use a flat-edged garden spade for smaller areas or tight spaces where a sod cutter won’t fit, but expect slower progress and more physical effort. Once the old grass is gone, rake away remaining roots and debris before moving on to soil prep.
Preparing the Soil
Proper soil preparation is the foundation of a healthy lawn. Skipping this step or rushing through it leads to poor drainage, weak root systems and thin turf that struggles to compete with weeds.
You’ll need a garden tiller to loosen the top 4 to 6 inches of soil, allowing the roots to penetrate deeply and improving water absorption. For larger properties or severely compacted soil, a skid steer with a tiller attachment covers ground faster and digs deeper than a walk-behind model.
Grading and leveling come next. A properly graded lawn keeps water from pooling near your property’s foundation and eliminates low-lying spots that turn into muddy swamps after every rainstorm. Skid steers equipped with box blades or landscaping attachments, like Harley rakes, make grading more efficient. Scrape soil from high spots, fill in low areas and maintain a grade of more than 6 inches within the first 10 feet of your house.
Allow the soil to settle naturally for a few days after grading, or lightly roll the area using an empty or lightly filled lawn roller. Rolling firms the surface and highlights uneven dips that still need attention before seeding, stopping the soil from sinking later.
Seeding and Finishing
Getting the seed into the ground correctly is where all the preparation pays off. Poor seeding technique leads to bare spots, uneven growth and wasted money on seed that never germinates.
Seeder equipment comes in several types. Drop seeders and broadcast spreaders work well for large, open areas. More advanced slit seeders cut narrow grooves into the soil and drop seed directly into them, ensuring excellent seed-to-soil contact and higher germination rates. For steep slopes or commercial-sized properties, hydroseeder rentals apply seed, mulch, fertilizer and water in one pass, stabilizing the soil and speeding up establishment.
The best time to seed depends on the grass type. Cool-season grasses common in Indiana and Michigan’s Lower Peninsula thrive when seeded in late summer to early fall, when the soil is still relatively warm but air temperatures are cooling down.
Consistent moisture is the final critical piece for successful germination. Water two to three times a day for short periods, keeping the top inch of soil damp without waterlogging it. Once the grass has established roots, you can dial back your watering frequency while increasing the duration to encourage healthy growth. Limit heavy foot traffic on your new lawn for the first eight to 12 weeks while the grass establishes itself.
A Step-by-Step Guide to Creating a New Lawn From Bare Ground
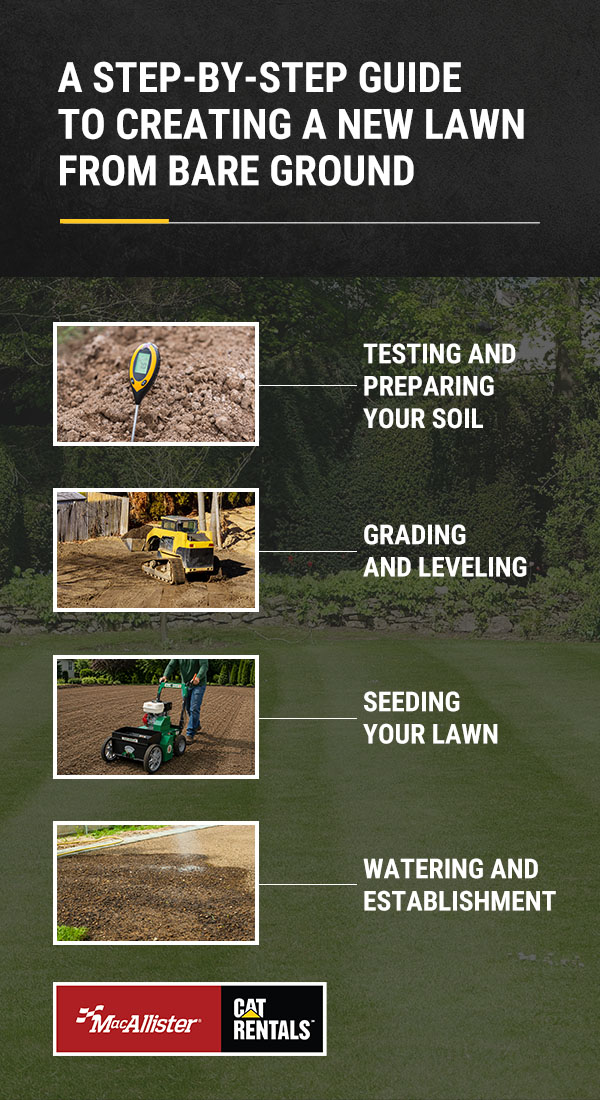 Starting from bare ground gives you complete control, but remember that soil quality and grading will become critical without an existing base.
1. Testing and Preparing Your Soil
DIY homeowners often skip soil testing, which is a rookie mistake. Understanding your soil’s pH and nutrient levels is crucial for healthy turf growth because it optimizes nutrient levels, balances pH, prevents overfertilization and improves soil structure.
Purchase a soil test kit from your local agricultural extension office or garden center. Collect samples from multiple spots across your yard, combine them and send the result to a lab for analysis. You should receive a report that tells you what remediation measures to take. Spread the recommended compost, lime or fertilizer across the bare ground, then use your rented rototiller to work these materials into the top 4 to 6 inches of soil, mixing them evenly and loosening compacted dirt to create an ideal environment for new roots.
2. Grading and Leveling
Proper grading prevents water from pooling against the foundation and eliminates drainage problems before they start. For severely sloped yards or properties with major dips and mounds, rent a skid steer with a Harley rake or a tiller attachment. Scrape soil from high spots and dump it into low spots, then use the tiller attachment to loosen the top 4 to 6 inches of the existing dirt to allow new roots to penetrate.
Let the soil settle for a few days after grading, then make a final pass with a lightly filled lawn roller to firm up the surface and reveal remaining low spots that need more soil.
3. Seeding Your Lawn
Your chosen seeding method and timing can make or break your project. In general, late summer to early fall is the ideal time to seed because the soil is still warm from summer, while milder air temperatures reduce heat stress on young seedlings.
Three seeding methods work well for landscapers starting from scratch.
- Broadcast seeding: Spreading dry grass seed over the soil surface with a handheld or push spreader is best for large properties or budget-friendly DIY projects. This approach leaves seeds exposed to birds and wind, which can reduce germination rates.
- Slit seeding: A specialized machine cuts vertical grooves into the soil and drops seeds directly into them in a single pass. Superior seed-to-soil contact dramatically improves germination, making this method best for repairing thinning lawns and filling bare spots.
- Hydroseeding: This professional-grade method is best for establishing entirely new lawns, commercial projects and stabilizing steep slopes to prevent erosion. It involves spraying a specialized slurry of seed, mulch, fertilizer and water over the property.
4. Watering and Establishment
Consistent watering determines success — too little and seeds dry out, too much and they rot or wash away.
Break watering into three phases.
- Germination and early growth: For the first 21 days, keep the seeds continually moist without oversaturating them. Water two to three times daily for 10 to 20 minutes per session. The top inch of soil should stay damp to the touch. Increase the watering frequency in hot, dry or windy weather to prevent the seedbed from drying out.
- Post-germination and rooting: Over the following three to six weeks, transition to watering once a day or every other day. Aim for roughly 30 to 45 minutes per session to drive the roots deep into the ground.
- Establishment and mowing: Once the grass reaches 3 inches tall, it’s ready for its first mow. Cut back watering to about twice a week, aiming to provide roughly an inch of total water, including rainfall, per week. Thorough, infrequent watering encourages roots to grow downward instead of staying shallow near the surface.
How to Renovate an Existing Lawn
Renovation works best when your existing lawn is more than 50% weeds, heavily compacted or failing from neglect.
1. Removing the Old Grass and Weeds
To effectively renovate an existing lawn, completely remove the old grass and weeds to give new seed a clean, competitive edge. Choose a method based on your time frame, budget and yard size.
Mechanical removal with a sod cutter is the fastest approach. Rent one for a day and strip away the old turf in sections, then roll up the strips and haul them away or repurpose them in other areas of the property where bare ground needs quick cover.
Chemical removal with a nonselective herbicide is another option. Spray the entire lawn, wait a week to 10 days for the grass to die, then use a tiller to break up the dead roots and mix them into the soil. This method takes longer but lets you skip the physical labor of hauling away heavy sod rolls.
Lightly water the bare soil for about a week after clearing and tilling. Dormant weed seeds deep in the soil will sprout, giving you a chance to spot-spray these new weeds with an herbicide before laying down new grass seed. Eliminating competition now gives the new lawn a better start.
2. Amending the Soil
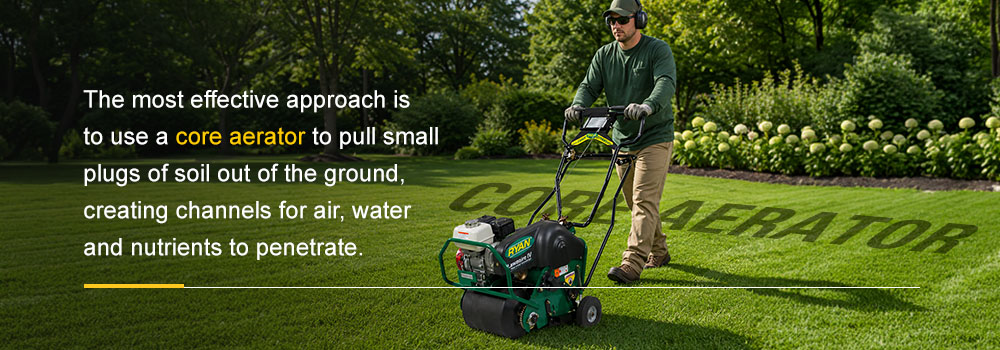
Renovating an existing lawn often involves amending the soil by addressing compaction, pH imbalances and nutrient deficiencies. The most effective approach is to use a core aerator to pull small plugs of soil out of the ground, creating channels for air, water and nutrients to penetrate. Rent an aerator and make several passes across the lawn in different directions for maximum coverage.
Apply a topdressing of compost or high-quality topsoil after aeration. Spread a thin layer across the lawn and work it into the aeration holes with a leaf rake to add vital organic matter, improve microbial activity and retain moisture for new seedlings.
If a soil test reveals pH problems or nutrient deficiencies, spread the recommended amendments before topdressing. The aeration holes will allow these materials to reach the root zone faster than surface application alone.
3. Seeding the New Lawn
A slit seeder is highly effective because it mechanically cuts narrow grooves and places the seed directly into your existing soil. This method dramatically boosts germination rates by ensuring superior seed-to-soil contact and protecting seeds from wildlife and runoff. Ensure even coverage by making two perpendicular passes with the slit seeder — north to south, then east to west.
Pay close attention to timing and seeding rates — follow the recommended pounds per 1,000 square feet listed on the seed bag. Overseeding wastes money and creates overcrowded turf that competes for nutrients, while inadequate coverage leaves bare spots that weeds will colonize.
4. Post-Seeding Care
Be patient when following the tips in this guide. Skipping steps will lead to thin turf and wasted effort.
- Watering: Keep the topsoil moist until all seeds have germinated. Follow the same three-phase watering schedule outlined in the bare-ground section.
- Limit foot traffic: Keep pets, children and heavy yard care equipment off the newly seeded area. Walking on tender seedlings can easily crush or uproot them.
- Fertilization: Apply a starter fertilizer that is high in phosphorus to promote root growth within three to five days of seeding. Follow the package instructions for application rates.
- The first mow: Let the new grass grow to about 3 to 4 inches tall before the first cut. Set the mower to a high setting and make sure the blades are sharp. Bag clippings if possible to avoid smothering the new grass.
- Weed control: Do not immediately apply heavy chemical herbicides. Let the new grass establish itself before spraying for weeds.
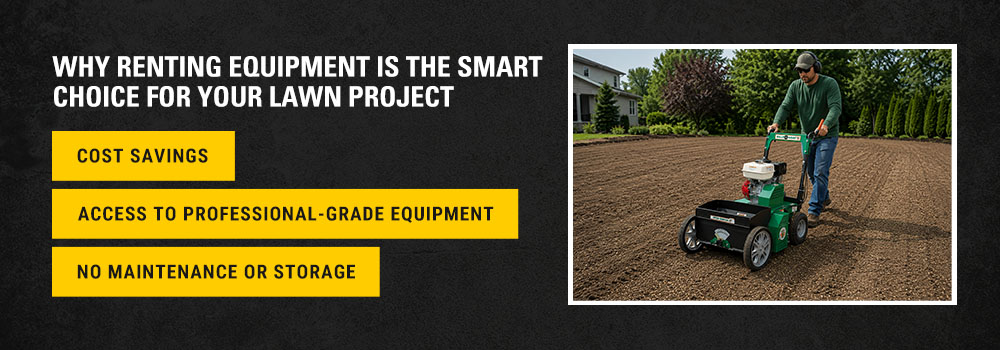
Why Renting Equipment Is the Smart Choice for Your Lawn Project
Renting equipment instead of buying makes financial and practical sense for a one-time lawn installation or renovation.
- Cost savings: Professional-grade tillers, sod cutters and slit seeders can cost several thousand dollars each. Renting the same equipment for a few days runs a few hundred dollars total. The savings add up quickly, especially when factoring in the cost of maintenance, repairs and storage for equipment that sits unused 50 weeks a year.
- Access to professional-grade equipment: Rental fleets carry commercial-quality machines built for tough jobs. These tools deliver better results than consumer-grade models and come equipped with the latest technologies and safety features. Renting gives you affordable access to the appropriate tool for every phase of the project without the up-front investment.
- No maintenance or storage: Rental companies handle all repairs, oil changes and sharpening, so their machines always run perfectly. After you finish, return bulky items like tillers and power rakes and reclaim valuable garage or shed space.
Explore the full benefits of rentals for first-time renters and DIY homeowners.
Find Your Lawn Project Equipment With MacAllister Rentals
Whether you’re seeding bare ground to grow a lawn from scratch or completely renovating an existing yard, having access to high-quality equipment makes all the difference between a frustrating DIY struggle and a smooth result your neighbors will envy.
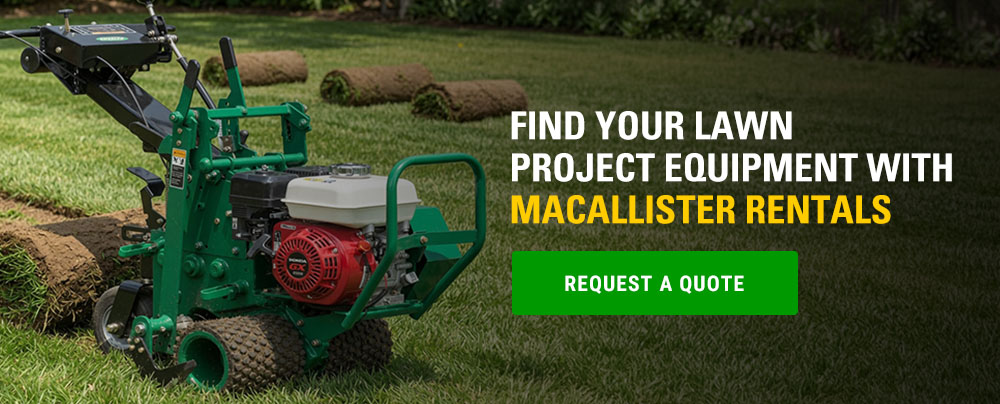
MacAllister Rentals carries everything you need for every phase of your lawn project — from sod cutters and tillers for your initial soil prep to aerators and lawn rollers for the finishing touches. Our rental fleet includes professional-grade equipment maintained by highly trained technicians, so you’ll get reliable performance without the cost of ownership or the headache of maintenance and storage.
If you’re unsure which equipment you need, our knowledgeable team is here to help. Let us walk you through your options, recommend the best tools for your yard size and soil conditions and advise you on how to prep. Browse our full inventory of landscaping equipment online, or contact a tool rental service specialist who can answer questions and provide setup guidance for success.